


This is a tutorial on how to add the updated junk textures to your existing HD mods.
If you download any of the updated HD mods on the EQHD page you do not need to follow this tutorial.
Things you’ll need:
-
Your HD mod
-
Photoshop with DDS plugin (This will work in other programs that can handle and export DDS files but this tutorial focuses on PS only!)
-
Some basic knowledge of Photoshop and its tools
-
Junk + mouth textures found here (Make sure you pick the appropriate size for your HD mod!)
-
Step 1-
Start by unpacking the junk + mouth rar somewhere where you’ll remember and make a backup of your original HD mod in case you want to go back to the EA body.
Then open your HD mod in s3pe and locate the Diffuse/Multiplier. It should be the greyscale image that looks something like this:
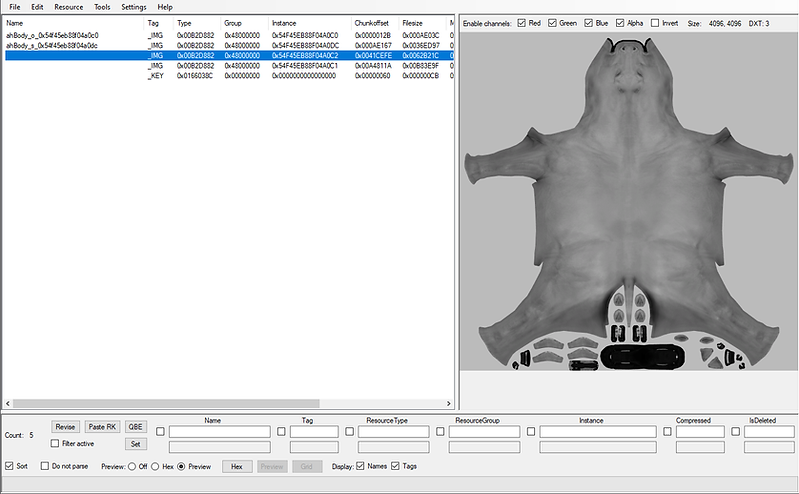
Export that file by right-clicking it and pick Export > to File. You can name it whatever you want as long as you keep the “.dds” at the end of the name or you can keep the original name that s3pe gives it. Save it somewhere safe.
-
Step 2 -
If your HD Mod file has an _IMG called “ahBody_o_0x54f45eb88f04a0c0”
(for foals: chBody_o_0x876ebd87b86d9e12)
Highlight that next and right click it. Pick replace and choose the file called “S3_00B2D882_48000000_54F45EB88F04A0C0_ahBody_o_0x54f45eb88f04a0c0%%+_IMG” that was included in the rar you downloaded at the start. This file will work for both foals and adults.
If your HD Mod file does not have an _IMG called “ahBody_o_0x54f45eb88f04a0c0”
(for foals: chBody_o_0x876ebd87b86d9e12)
Simply drag and drop the file called “S3_00B2D882_48000000_54F45EB88F04A0C0_ahBody_o_0x54f45eb88f04a0c0%%+_IMG”
(for foals: "S3_00B2D882_48000000_876EBD87B86D9E12_chBody_o_0x876ebd87b86d9e12%%+_IMG")
that was included in the rar you downloaded at the start into the package. In the new window that pops up simply click “OK” and do not change anything.
Now, either save your package and close it for now or keep it open in S3PE while you do the next steps.
-
Step 3 -
Next we are going to be changing the multiplier and adding the junk textures as well as replacing the alpha so the inside of the mouth shows up correctly.
Open the multiplier in PS and drag and drop the Junk.png on top of it. Before you finish the placement of it make sure the corners all lined up properly so the textures aren’t misaligned

NOTE: You may have to tweak the brightness/contrast on the junk layer so it matches the belly area of your mod.
-
Step 4 -
Now open the file called “Alpha” in Photoshop. Press Ctrl-A on your keyboard to select everything and then press Ctrl-C to copy it.
Go back to the multiplier image and go to the“Channels” tab in the layers panel:

If your image has an alpha already:
Highlight the alpha layer and paste the image you copied using Ctrl-V.
If your image does not have an alpha:
click the + button in the layers panel, keep the original name and press OK then press Ctrl-V on your keyboard to paste the image you copied earlier.

-
Step 5 -
Save your new multiplier as a DDS with an Interpolated Alpha (Make sure “Generate Mipmaps” is unticked if you are using the NVIDIA Texture Tools and “No MIP maps” is selected for the legacy exporter)
If you have the texture tools it should look like this:

If you’re using the legacy DDS exporter it should look like this:

Save it somewhere safe.
-
Step 6 -
Go back to S3PE and highlight the multiplier once again, right click it and pick “replace” and replace it with your new DDS that you just saved in Photoshop.

Save the package and then you’re done!
Make sure to remove your old HD mod before you place this in your Packages!
~Fin